Follow every stage of your assignments, from acceptance to invoicing.
Go to your mission
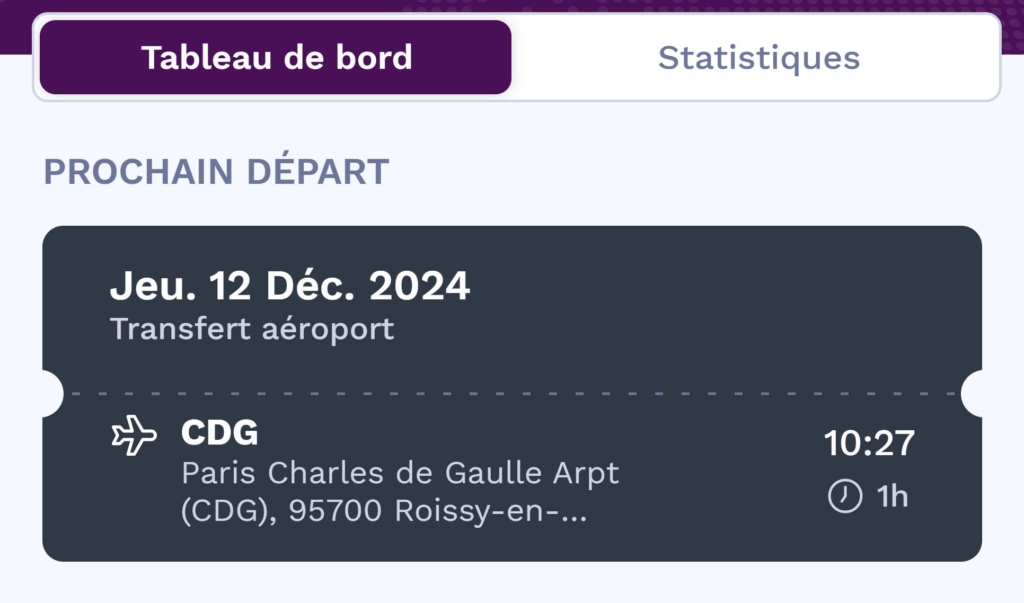
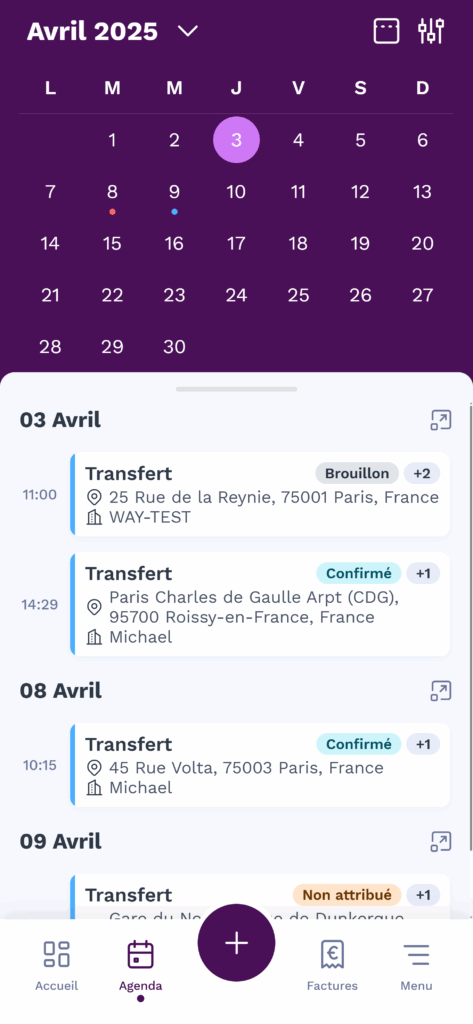
Select your next departure from the dashboard or select another mission via ".Agenda".
Tip: You can also play the missions from theagenda or the "mission details".
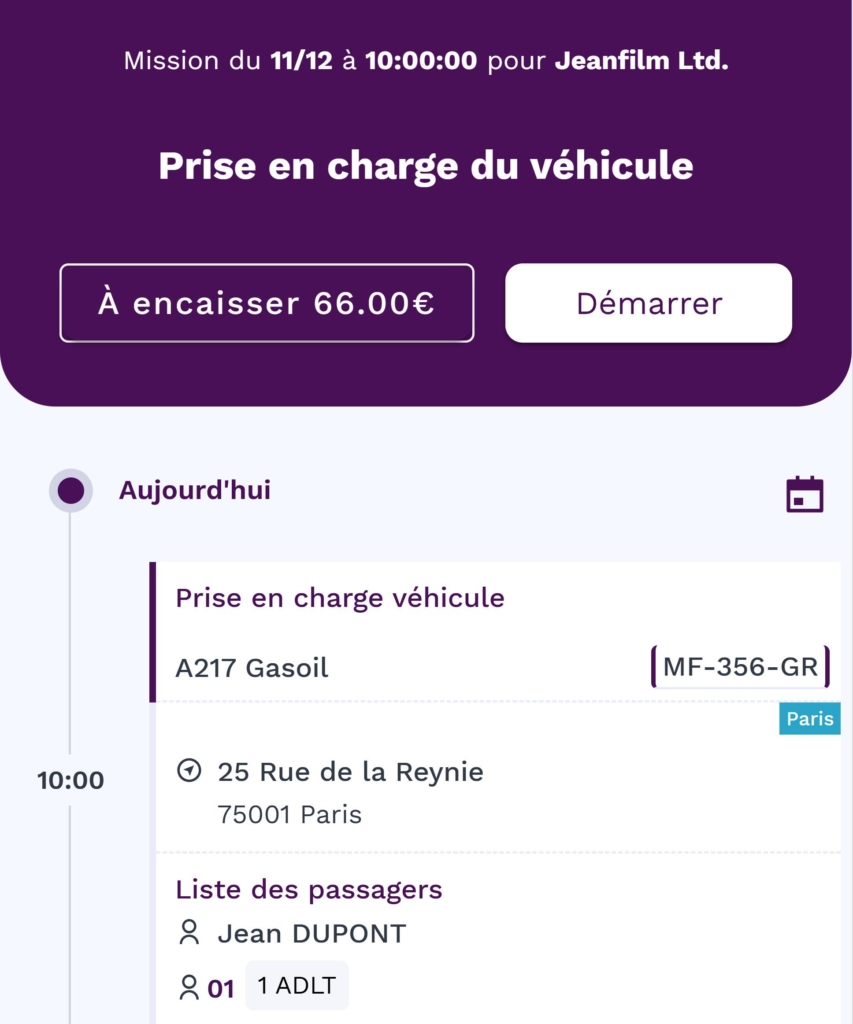
Start the mission
Press on " Start "As soon as you set off on your mission.
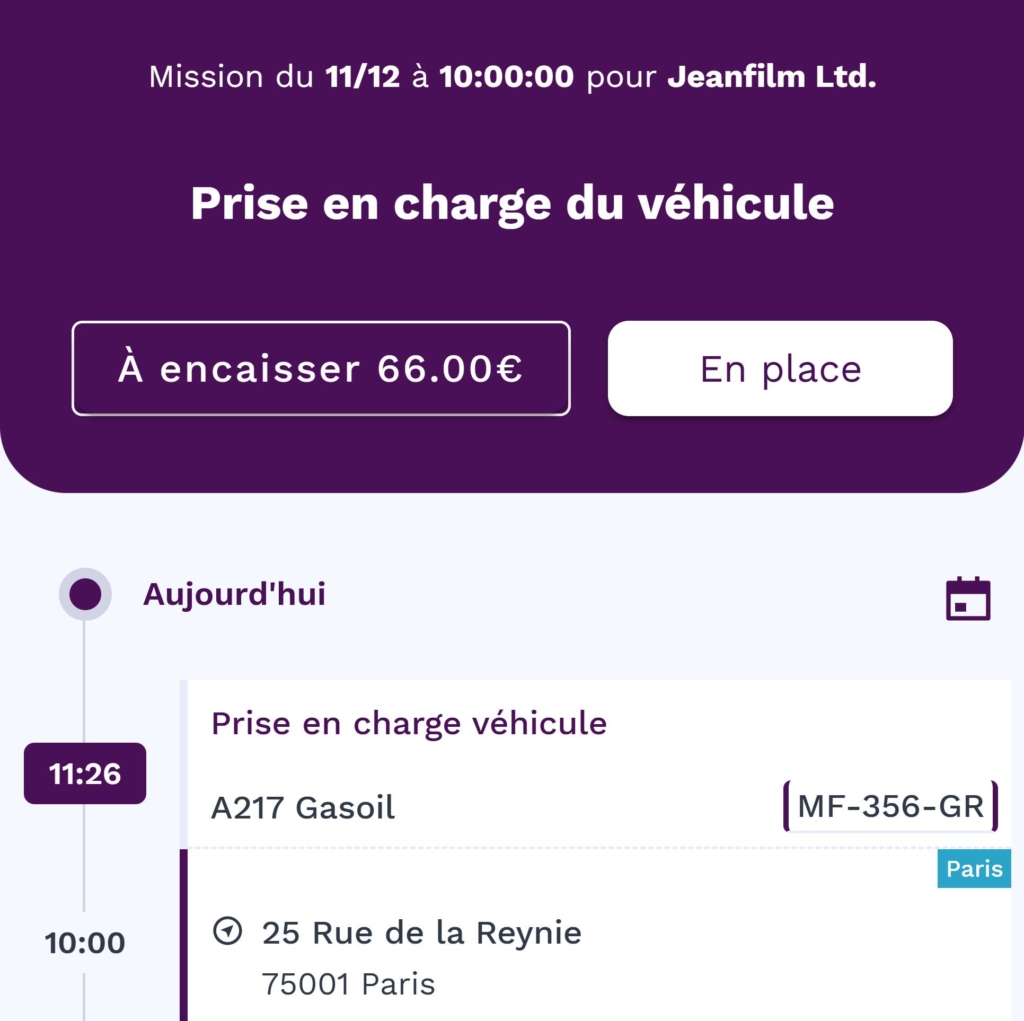
Arriving at the pick-up address
On arrival at the customer's address, press ". In place "This means that you are ready to be taken in charge.
Departure with the customer
Once the passengers are on board, select " Departure Click on "Start" to indicate the start of the journey. During the journey, you can consult the mission information in the application.
Reaching your destination
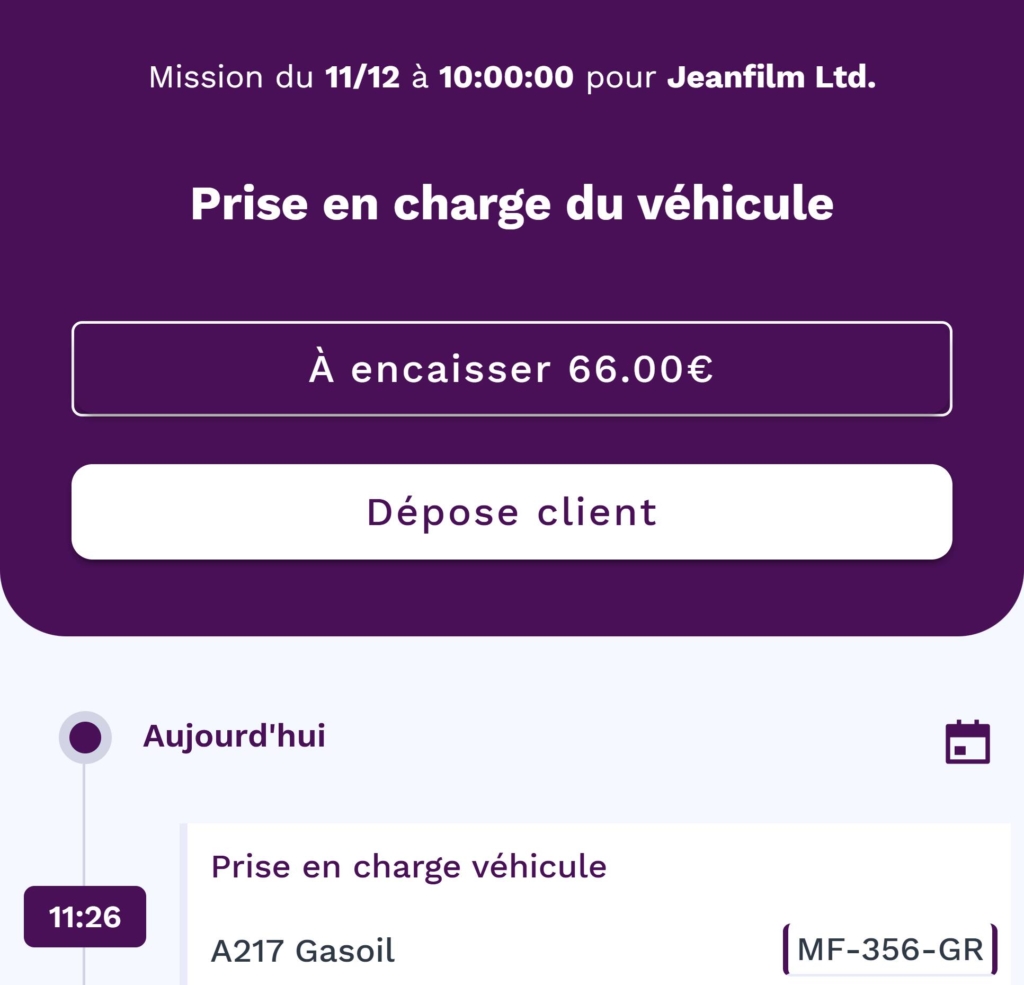
When you arrive at your destination, press ".Arrival at destination"This means that you have reached the current stage of the mission.

If this step involves dropping off a customer, then press ".Customer removal"to confirm.
If the assignment includes one or more other stagesthe process will be repeated with the following buttons:
- "In place"Once you've reached the next stage, you'll need to indicate your availability.
- "Departure"When you leave with the passengers.
- "Arrival at destination"On arrival at the new stop.
- "Customer removal"Once the passengers have been dropped off.
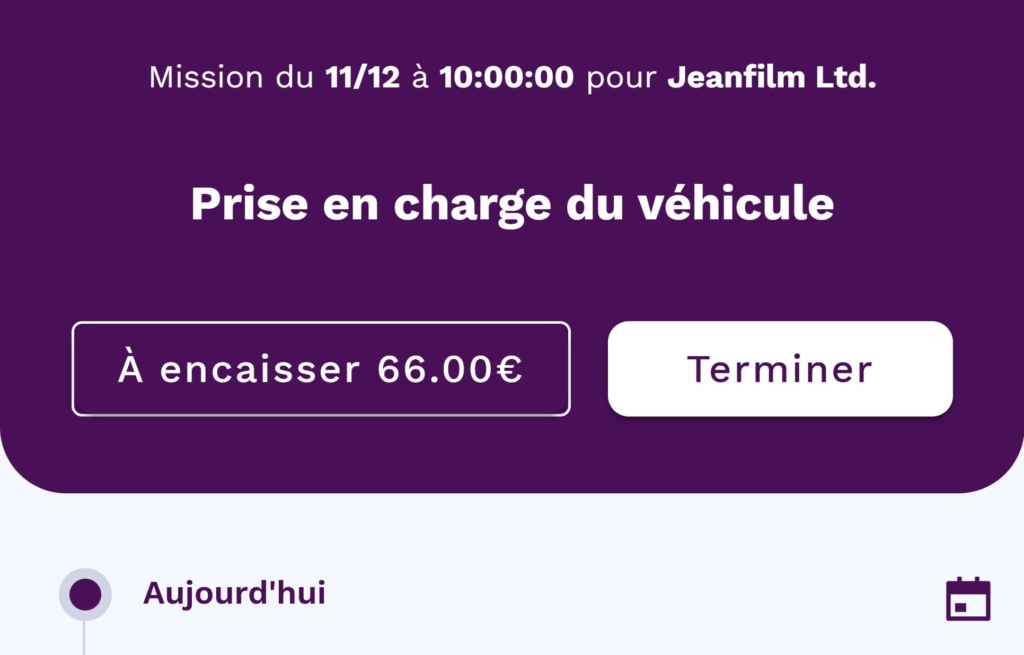
Complete the mission
Once all the steps have been completed, press ".Finish"to confirm the end of the mission.
Closing the assignment
Before you can invoice an assignment, you need to close it. You have two options for doing this:
Close from calendar :
- From the menu "AgendaLocate the job to be closed.
- Visit slide the mission card to the left to display the quick action buttons.
- Press the "Close.
Close from the job details :
- Click on the job in question to access its file.
- At the bottom of the page, click on "Close.
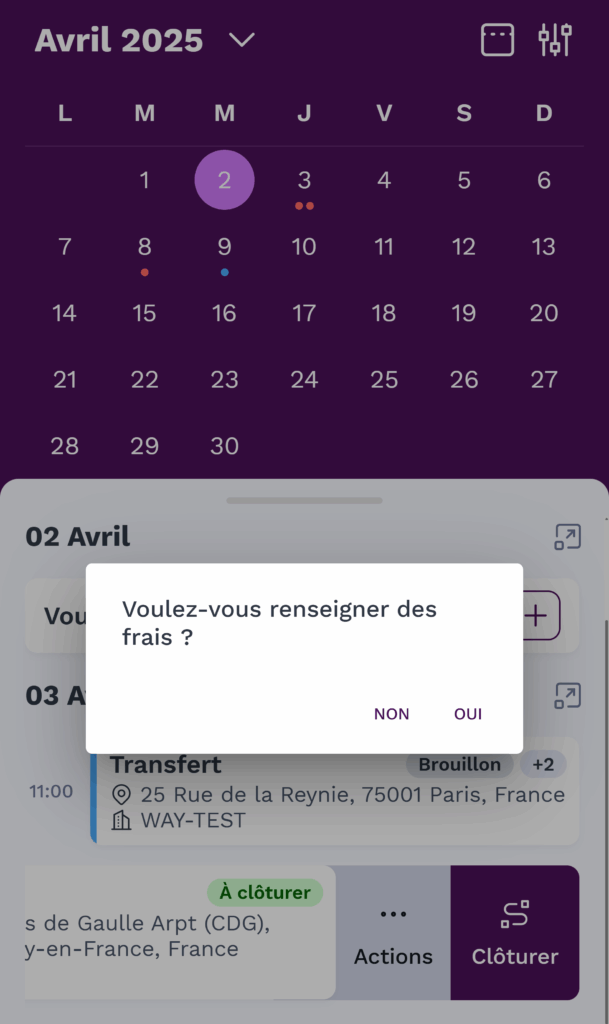
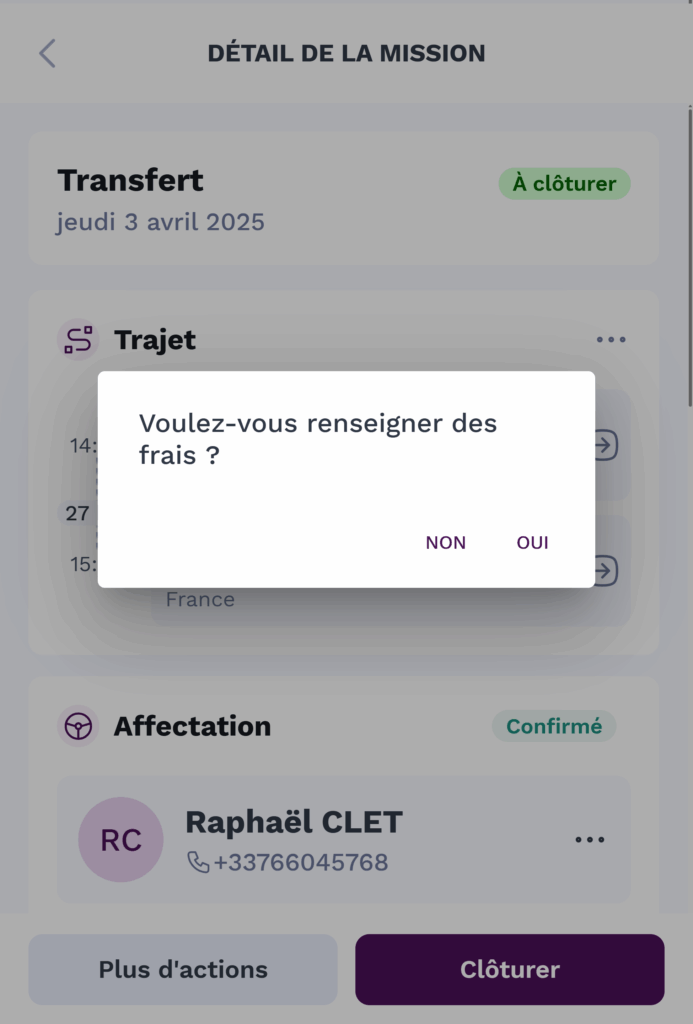
Intermediate stage:
At the closing ceremony, a pop-up window will open, asking you if you wish to informing costs (tolls, parking, etc.).
- Press the "Yes" to add them.
- Press the "No" if no additional costs are to be declared.
Once this stage has been validated, the assignment will be closed and ready to be invoiced.
Tip: Access your missions at "close"in the blockaction to be taken"since thedashboard".
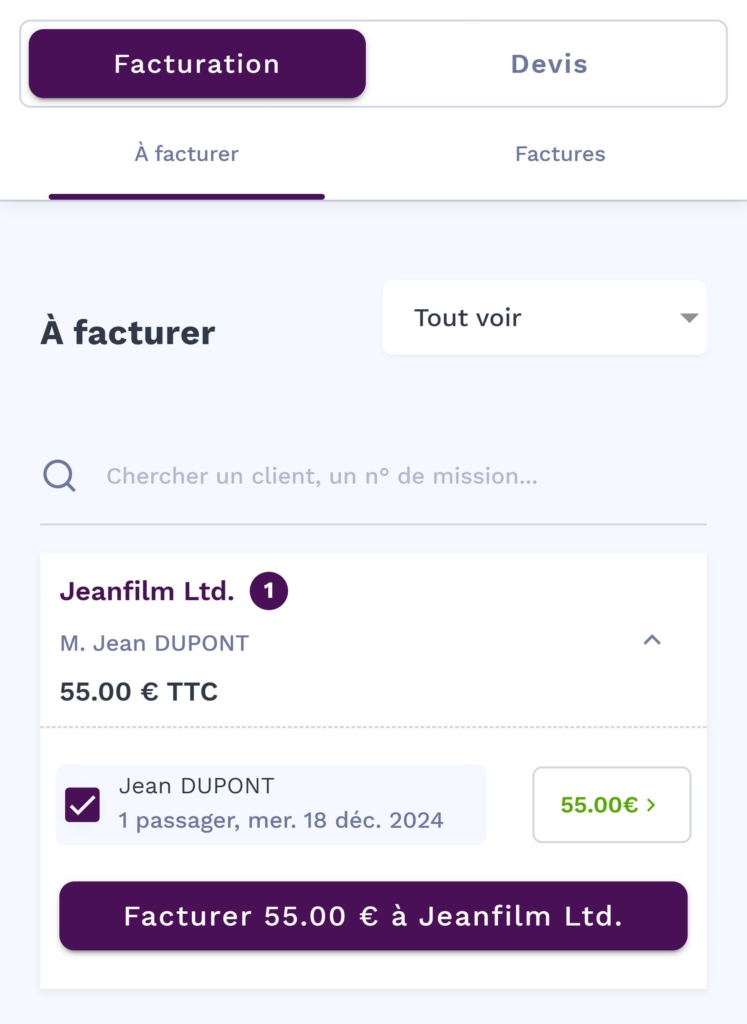
Invoicing the assignment
Go to the "Bills"at the bottom of the screen.
In the "To be invoiced"Select the mission in question.
Click on "Bill"to generate the invoice.
Once generated, you are automatically redirected to the "Bills"on the invoice concerned.
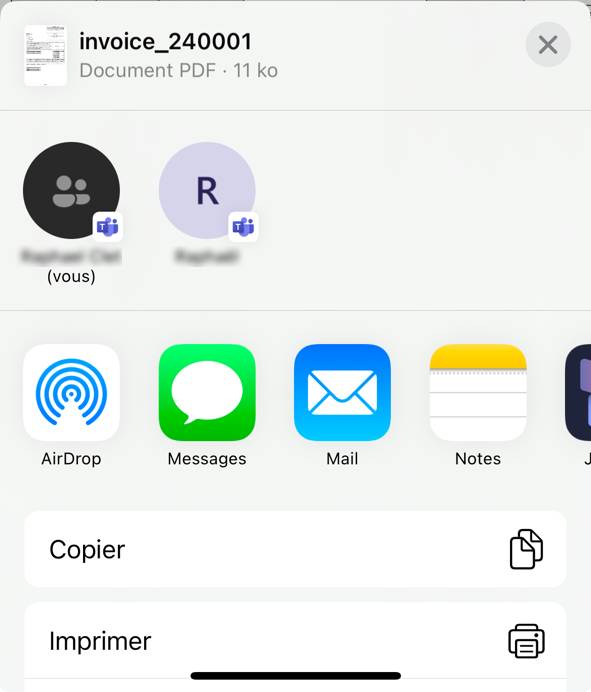
Download or send the invoice
On the relevant invoice page, press the " " button.Invoice"Click here to download the invoice in PDF format and share it directly via your preferred means of communication (email, messaging service, etc.).
Carrying out an assignment in WAY-Partner is intuitive and efficient, thanks to tools designed to simplify every stage, from pick-up to invoicing. Take the time to check your information at every stage to ensure an optimal customer experience and rigorous management of your assignments.
If you have any questions or need help, consult our FAQ or contact our WAY-Partner support.